 Hollowpine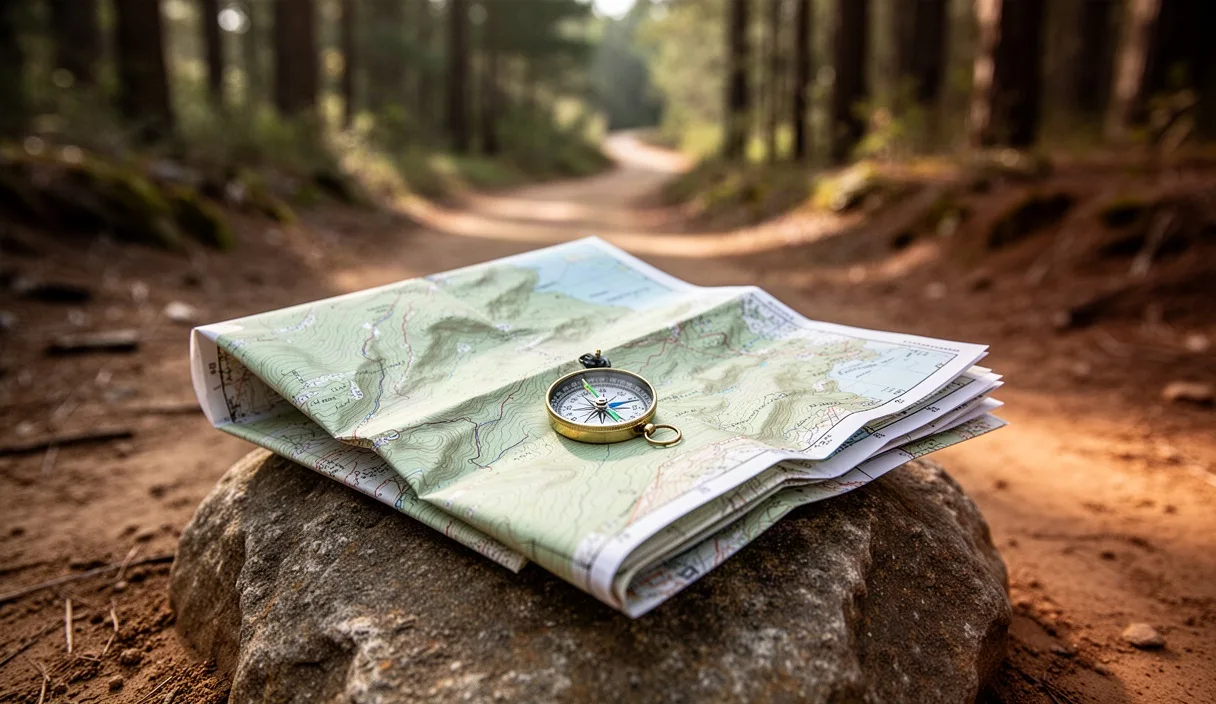
A phone screen tells you where you are. It rarely tells you what's between you and where you want to go. Topographic maps show slope, terrain shape, water sources, and escape routes in a way that a small glowing arrow on a screen cannot, and they keep working when a battery dies at 4,200 feet in October.
This isn't an argument against GPS. It's an argument for reading the map underneath it. Once you can interpret contour lines, scale, and symbols on paper, a GPS unit becomes a confirmation tool instead of a crutch. The skills below apply whether you're planning a six-mile loop or a multi-day traverse, and none of them require special equipment beyond a map, a compass, and some practice time at home.
Why Paper Maps Still Matter on Weekend Trails
Cold drains lithium batteries faster than manufacturers advertise. A phone rated for eight hours of screen time can drop to two hours in freezing temperatures, and a GPS unit left in a pocket against snow can shut off entirely. Paper doesn't care about temperature, and it doesn't need satellite reception in a narrow canyon or under dense tree cover, two situations where GPS accuracy commonly degrades to 30 feet or worse.
There's also a planning advantage. A paper map spread on a table lets you see six miles of terrain at once, compare two possible routes side by side, and mark decision points before you ever put on boots. A phone screen shows a few hundred yards at a time unless you zoom out far enough to lose the detail you need.
None of this means GPS is unreliable for casual use. It means a paper map and the ability to read it functions as the backup plan that actually works when the primary system fails. Search and rescue teams in several U.S. national forests report that a meaningful share of the calls they respond to involve hikers who lost phone signal or battery power and had no paper backup or the skills to use one.
Understanding Map Scale and What It Means on the Ground
Scale tells you how much real-world distance one unit on the map represents. A 1:24,000 scale map, the standard for USGS topographic quadrangles, means one inch on the paper equals 24,000 inches on the ground, or exactly 2,000 feet. A 1:100,000 scale map compresses that same inch into roughly 1.6 miles, which is fine for highway driving but too coarse for judging trail distance accurately.
Most hiking-specific topo maps use 1:24,000 or 1:25,000 scale because it balances detail against page size. At this scale, a half-inch gap between two trail junctions on paper equals about 1,000 feet on the ground, roughly a three to four minute walk on flat terrain.
- 1:24,000: 1 inch = 2,000 feet. Best for detailed trail navigation.
- 1:62,500: 1 inch = about 1 mile. Common on older USGS maps, useful for regional overview.
- 1:100,000: 1 inch = about 1.6 miles. Good for road access, too broad for footpaths.
Always check the scale bar printed on the map rather than assuming, since two maps of the same area from different publishers can use different scales. Measuring a route with a piece of string laid along the trail line, then comparing that length to the scale bar, gives a fast estimate of total distance without doing math in your head.
Reading Contour Lines to Judge Slope and Elevation
Contour lines connect points of equal elevation. Each line represents a specific elevation change, called the contour interval, commonly 40 feet on USGS 1:24,000 maps but sometimes 20 feet or 80 feet depending on the terrain being mapped. The interval is printed in the map's legend, and you need to check it every time you switch maps.
The spacing between lines tells you about slope steepness. Lines packed tightly together indicate a steep grade, sometimes a cliff face. Lines spread far apart indicate gentle, near-flat terrain. A rough field rule: if you count more than four contour lines crossing a quarter-inch of map distance on a 40-foot interval map, you're looking at a slope steep enough to require careful footing or possibly scrambling.
Every fifth contour line is usually printed darker and labeled with its exact elevation, called an index contour. Finding these labeled lines lets you calculate elevation gain quickly. If a trail crosses six standard lines between two index contours labeled 4,000 feet and 4,200 feet, you've climbed 200 feet over that stretch.
Closed loops of contour lines that get smaller toward the center indicate a hill or peak. Closed loops with small tick marks pointing inward, called hachures, indicate a depression instead, like a sinkhole or basin. Mixing these up is a common source of confusion for new map readers, so always check for the hachure marks before assuming a closed loop is a summit.
Common Symbols and What They Actually Represent
Every topographic map includes a legend, but legends vary between publishers and even between map editions from the same agency. USGS maps, Forest Service maps, and commercial hiking maps like those from National Geographic Trails Illustrated don't use identical symbol sets, so checking the specific legend on your map matters more than memorizing one universal system.
That said, a few conventions show up consistently enough to learn as defaults:
- Blue lines and shapes: water features. Solid blue lines are perennial streams; dashed blue lines are intermittent, meaning they may be dry for part of the year.
- Green shading: forest or vegetation cover. White or unshaded areas typically indicate open terrain, meadow, or bare rock.
- Black dashed lines: unimproved trails or dirt roads, distinct from solid black lines which usually mark maintained roads.
- Brown lines: the contour lines themselves, along with elevation figures.
Trail-specific commercial maps often add red or orange lines for marked hiking routes and use small icons for campsites, water sources, and trailheads. These icons are genuinely useful, but they're also the reason you shouldn't rely on a five-year-old map for current trail conditions. Trails get rerouted, water sources dry up, and bridges wash out. Cross-check any map older than a couple of seasons against a recent trip report or a call to the local ranger district before committing to a remote route.
Using a Compass Bearing Together With the Map
A map tells you what's around you. A compass tells you which direction to walk. Combined, they let you navigate without any electronic signal at all, a skill sometimes called dead reckoning.
To take a bearing from the map, lay your compass baseplate on the paper connecting your current position to your destination. Rotate the compass housing until the orienting lines inside align with true north on the map, then read the bearing number where the direction-of-travel arrow meets the housing. That number is the compass heading you'll walk to reach your target, assuming clear sightlines or periodic checks against landmarks.
One detail trips up a lot of beginners: magnetic declination. A compass needle points to magnetic north, which differs from true north by an amount that varies by location, sometimes by more than 15 degrees in parts of the western United States and Alaska. Most topographic maps print the local declination value in the legend. Adjustable compasses let you dial in this correction once so every bearing you take afterward is already accurate; fixed compasses require you to add or subtract the declination manually every time.
A practical example: if your map shows a declination of 12 degrees east and you calculate a bearing of 220 degrees from the map, you'd walk a compass heading of 232 degrees to account for the difference. Getting this backward, subtracting when you should add, can put you a quarter mile off course over two miles of walking, which is enough to miss a trail junction entirely in wooded terrain.
Practicing Map Reading Before You Need It
Reading a map calmly at a kitchen table is a different skill from reading it while tired, cold, and slightly worried about the time. The gap between those two states is exactly why practice matters, and it's best closed before conditions get serious.
A simple drill: on a familiar local trail you've hiked before, bring a topo map and try to identify your exact location every ten minutes using contour shape, stream crossings, and trail junctions alone, without checking GPS until after you've made your guess. Comparing your guess to the actual location, confirmed by GPS afterward, builds the pattern recognition that makes map reading fast under real pressure.
Another useful exercise is a short orienteering course, often available through local hiking clubs or outdoor recreation centers for a modest fee, usually under 20 dollars. These courses place numbered markers in the woods that you find using only a map and compass, which is a low-stakes way to test navigation skills before applying them on a route where getting lost has real consequences.
Building a Simple Backup Navigation Habit
The most reliable systems use more than one method that don't fail for the same reason. A phone and a battery pack are still both electronic and both vulnerable to water damage or a cracked screen. A paper map is not.
Before any trip longer than a couple of hours, print or buy a paper topo map of the area, fold it to show your planned route, and store it somewhere it won't get soaked, a gallon ziplock bag works fine. Mark your planned route and two or three bailout points, places where a shorter trail back to the car branches off the main route, directly on the paper with a pencil.
Tell someone not on the trip your planned route and expected return time. This single habit, unrelated to maps directly, is one of the most consistently cited factors in faster search and rescue response when something does go wrong. If you're heading into terrain that involves exposed scrambling, water crossings, or winter conditions beyond your experience, it's worth consulting a local guide service or ranger station rather than relying on any map alone.
Common Mistakes
- Ignoring declination: using a compass bearing straight off the map without correcting for magnetic declination, leading to steady drift off course.
- Assuming scale without checking: treating every topo map as the same scale, which throws off distance and time estimates.
- Misreading closed contours: confusing a hilltop with a depression by missing the hachure marks that indicate a basin.
- Trusting an outdated map: relying on trail symbols from an old edition when the actual route has been rerouted or closed.
- Never practicing beforehand: opening the map for the first time mid-trip instead of building the skill on familiar ground first.
Next Steps
Start by buying or printing a topographic map of a trail you already know well, at 1:24,000 scale if it's available. Spend twenty minutes at home identifying the contour interval, the declination value, and the legend symbols before you ever take it outside. Then walk that familiar trail once with the map in hand, checking your position against known landmarks every ten to fifteen minutes.
Once that feels comfortable, add a compass and practice taking bearings on the same trail, correcting for declination each time. From there, the skills transfer directly to unfamiliar terrain. A map you can actually read is one less thing that can fail on you, and it's a skill that, once built, doesn't run out of battery.