 Hollowpine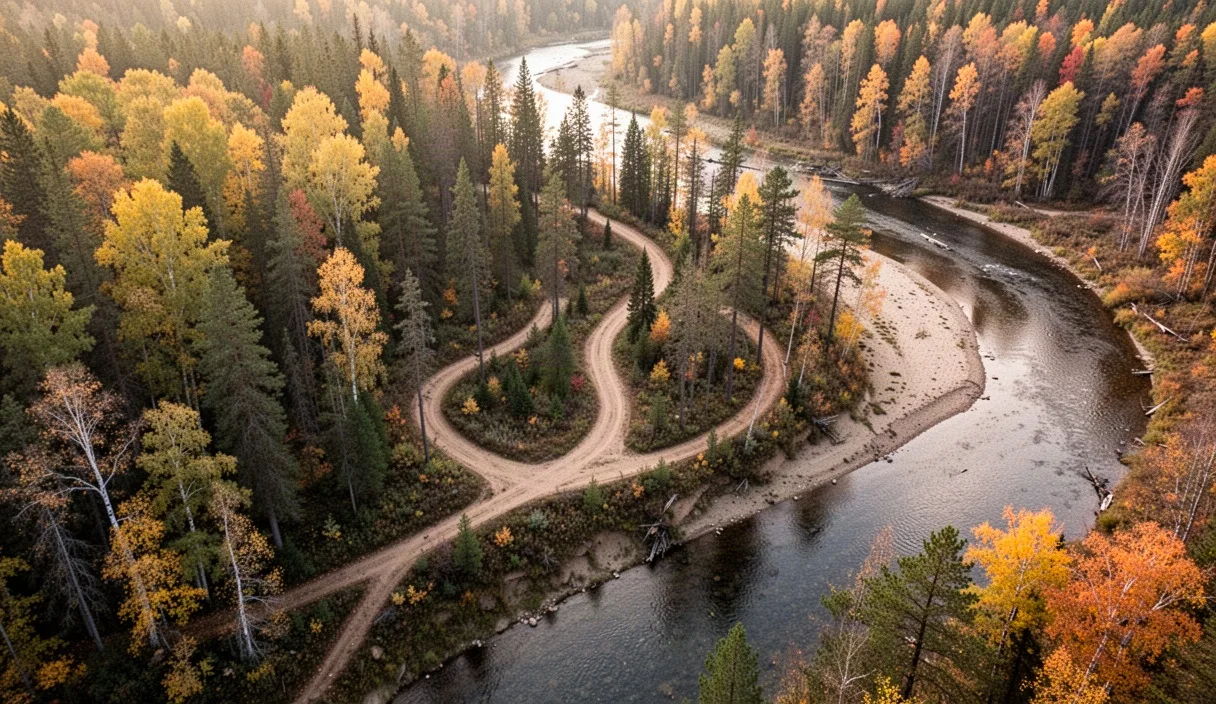
A two-day backpacking loop is the most efficient way to test your gear, your legs, and your judgment before committing to longer trips. You carry everything you need for one night out, you cover real mileage on both days, and you return to your car without arranging a shuttle or a second vehicle. Done well, the planning takes a few hours spread across a week; done poorly, you end up hiking in the dark or boiling water you should have tested first.
This guide walks through the actual planning sequence: picking a loop, checking water and permits, splitting mileage sensibly, and building an itinerary you can hand to someone staying home. Every section below assumes you're planning independently, not following a guided trip, so the responsibility for route-finding, water treatment, and weather decisions sits with you.
Why Loop Trails Suit a First Overnight Trip
A loop returns you to your starting trailhead without retracing the same path twice, which matters more than it sounds. On an out-and-back route, a wrong turn or an injury on day one means backtracking the exact same miles under worse conditions. On a loop, you're always moving toward new terrain and, eventually, back to the car by a different line.
Loops also force variety into your itinerary. You'll typically cross a ridge, drop into a valley, and pass at least one water source you didn't see on the way in. That variety is useful for a first overnight because it exposes you to different footing and elevation changes in a single trip, which is exactly the kind of experience that's hard to simulate on a day hike.
The practical downside is logistics: loops are sometimes harder to find in guidebooks than straightforward out-and-backs, and mileage between junctions isn't always even. A 14-mile loop might split 9 miles on day one and 5 on day two, or the reverse, depending on where campsites actually exist. Flexibility in your split is part of loop planning, not a flaw in the route.
Researching Trail Options and Reading Recent Trip Reports
Start with the land management agency's own trail page, whether that's a national forest, state park, or BLM district. These pages list total mileage, elevation gain, and whether the route is officially maintained as a loop or stitched together from connector trails. Cross-reference that mileage against a second source, because agency pages sometimes list only the primary trail distance and omit connector segments.
Trip reports from the last 60 to 90 days matter more than a five-star average rating from two years ago. Trail conditions change: a bridge washes out, a blowdown blocks a switchback, a spring dries up in late summer. Search hiking forums, regional Facebook groups, and apps like AllTrails or Gaia GPS for reviews sorted by date, not by rating.
Pay specific attention to reports that mention:
- Trail junction signage that's missing or confusing, since this is where people get lost on loops
- Recent fire activity, flooding, or storm damage in the area
- Whether the "loop" actually closes or requires a short road walk to connect trailheads
If you find conflicting information between two recent sources, call the ranger station or land office directly. A five-minute phone call two weeks before departure is more reliable than a forum thread from a stranger.
Mapping Water Sources Along the Route
Water weighs about 2.2 pounds per liter, so you're not carrying two days' worth from the trailhead. Instead, you're identifying reliable sources and planning to filter or treat as you go. Mark every creek, spring, and lake on your map before you leave, along with the mileage point where each one sits on the loop.
Seasonal reliability is the catch. A spring marked on a topo map from 2015 may run dry by August in a low-snow year. Cross-check your map sources against the trip reports you gathered in the previous step, since recent hikers often note "creek at mile 6 was dry" or "flowing well, ankle deep." If you can't confirm a source within the last month, treat it as unreliable and plan around it.
A simple water plan for a two-day loop looks like this:
| Mile Point | Source | Reliability Notes | Action |
|---|---|---|---|
| Mile 0 | Trailhead spigot | Always on | Fill 1 liter before starting |
| Mile 4.5 | Creek crossing | Confirmed flowing 2 weeks ago | Filter, top off to 2 liters |
| Mile 9 (camp) | Lake, 200 yards off trail | Perennial, low algae in reports | Filter for dinner and next morning |
| Mile 13 | Seasonal spring | Unconfirmed, no recent reports | Do not rely on; carry extra from camp |
Carry a filter rated for the pathogens common in your region, and if you're hiking somewhere with agricultural runoff upstream, a filter alone may not be enough. Ask a local ranger or outfitter whether chemical treatment or a filter with a smaller micron rating is advisable for that specific watershed. This is a question for someone with local knowledge, not a guess based on general backpacking advice.
Choosing a Camp Point That Splits the Mileage Sensibly
The obvious approach, splitting a 14-mile loop into two 7-mile days, rarely matches where good campsites actually exist. Instead, work backward from established camp areas, whether that's a designated site, a flat bench near water, or a spot mentioned repeatedly in trip reports.
Elevation gain matters as much as horizontal mileage. A 7-mile day with 2,800 feet of climbing takes longer and costs more energy than a 9-mile day that's mostly flat. When comparing two possible camp points, calculate a rough pace using 2 miles per hour on flat terrain and subtract 30 minutes for every 1,000 feet of elevation gain. That gives you a realistic arrival time, not just a mileage split.
Also factor in when you'll actually start hiking on day one. If you're driving three hours to the trailhead and starting at 11 a.m., a shorter first day (6 to 7 miles) followed by a longer second day makes more sense than pushing 9 miles into fading light. Arriving at camp with at least an hour of daylight to set up, filter water, and cook dinner is a reasonable minimum buffer to build into your plan.
Checking Permits, Reservations, and Seasonal Closures
Overnight permit systems vary widely by land manager. Some national forests allow self-registration at the trailhead with no fee. Some state parks require a reservation made weeks in advance through an online portal. Wilderness areas inside national parks often cap nightly permits at a fixed number and release them on a rolling window, sometimes six months out.
Check three things specifically before you finalize a date:
- Whether overnight camping requires a permit distinct from day-use parking
- Whether campfires are currently allowed, given fire danger ratings that change weekly in dry seasons
- Whether any section of the loop has a seasonal closure for wildlife (elk calving, raptor nesting) that overlaps your travel dates
Permit fees typically range from no cost to around $15 to $30 per person per night, depending on the jurisdiction. If the loop crosses land managed by two different agencies, which happens more often than hikers expect, you may need separate permits from each. Confirm this by phone rather than assuming the trailhead kiosk covers the entire route.
Building a Simple Two-Day Itinerary
Write the itinerary as a document, not just a mental plan, and leave a copy with someone not on the trip. Include the trailhead name, your planned camp location, expected return time, and the license plate of the vehicle left at the trailhead.
A workable format looks like this:
- Day one: Depart trailhead by 10 a.m. Reach water source at mile 4.5 by noon, break 20 minutes. Arrive at camp near mile 9 by 4 p.m., allowing time to set up before dark.
- Evening: Filter water, cook dinner, store food per local bear or wildlife guidelines, in bear canister or hung as required.
- Day two: Depart camp by 8 a.m. Cover remaining 5 miles, factoring one climb around mile 11. Arrive at trailhead by 1 p.m., building in a 90-minute buffer before you'd consider the group overdue.
Build a turnaround rule into the plan too: decide in advance what conditions (weather, an injury, a missed junction) would trigger cutting the trip short and hiking out the fastest way possible, even if that means abandoning the loop shape. Deciding this before you're tired and stressed on the trail leads to better decisions than deciding in the moment.
Packing List Adjustments Specific to Loop Trips
Loop trips need a map and compass, or a GPS app with offline maps downloaded, more than out-and-back trips do, because you can't simply retrace your steps if you get disoriented. Download the full loop track before you lose cell signal, and carry a paper map as backup since phone batteries fail in cold weather faster than most people expect.
Because water sources vary along the route rather than clustering near one trailhead, carry slightly more filtering capacity than you would on a straightforward there-and-back trip: a filter plus a backup method like purification tablets covers you if the filter clogs mid-trip.
A few other adjustments worth making specifically for loops:
- Pack a printed or photographed copy of the trip report notes on tricky junctions, since you won't have the option to ask someone coming from the opposite direction if you're the only one on trail that day
- Bring slightly more emergency food (an extra 400 to 600 calories) since a wrong turn on a loop can add unplanned mileage in a way a straight out-and-back rarely does
- Carry a headlamp with fresh batteries even on a two-day trip, since a missed junction late on day two is the most common reason loop hikers finish after dark
Common Mistakes
The most frequent error is trusting old trail descriptions over current trip reports, particularly around water sources and washed-out bridges. A second common mistake is splitting mileage evenly by the numbers instead of by campsite availability and elevation gain, which leads to arriving at camp in the dark on day one. A third is assuming a single permit covers the whole loop when the route actually crosses two jurisdictions.
Next Steps
Pick a loop within two hours of home for your first attempt, something in the 10 to 16 mile range total. Spend one evening cross-referencing the agency trail page against trip reports from the last 90 days, then call the ranger station with any questions about permits, water, or closures. Print your itinerary, leave a copy with a contact at home, and download offline maps before you drive out. If anything about the route, the water sources, or the permit requirements still feels unclear after that research, that's a sign to call the land office again rather than guess on the trail.