 Hollowpine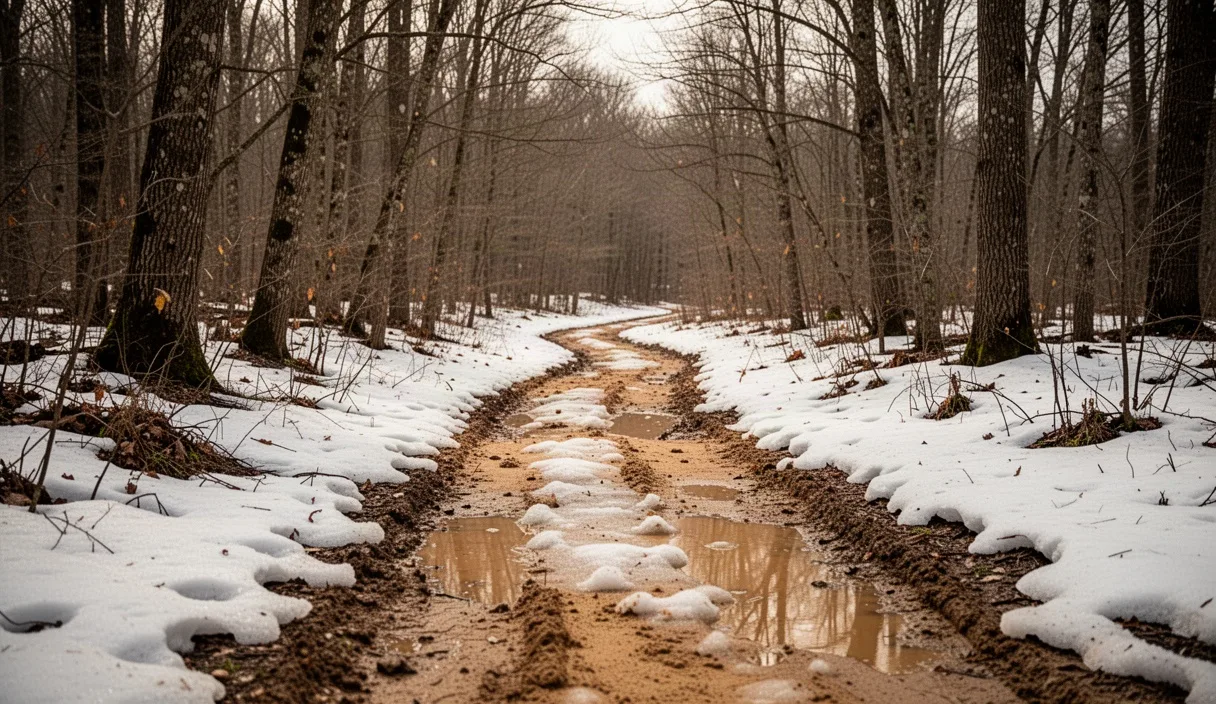
Shoulder season, roughly March through May and September through November depending on your latitude and elevation, is when trail conditions stop behaving predictably. The trail that was bone-dry in August can be a shin-deep creek in April. The summit that held daylight until 9 p.m. in July can go dark by 6:15 in late October. Most hiking injuries and rescue calls during these windows trace back to the same root cause: someone planned the trip using summer assumptions.
This isn't a reason to avoid spring and fall hiking. These months often bring the best light, the fewest crowds, and the most interesting wildlife activity of the year. But they demand a different planning process, not just a warmer jacket in your pack. Below is what actually changes, hazard by hazard, and how to adjust before you leave the trailhead.
How Shoulder Season Differs From Peak Summer Conditions
Summer hiking is largely a heat-and-hydration problem with a stable, predictable daily pattern: warm mornings, hot afternoons, long daylight, dry footing. Shoulder season removes that stability. Temperature swings of 30 degrees Fahrenheit between sunrise and midday are common in both spring and fall, and the trail surface itself is inconsistent, wet in shaded sections, dry in open ones, icy on north-facing slopes even when the valley floor is 55 degrees.
Daylight is the other major variable. In late June, many mid-latitude trailheads have 15 or more hours of usable light. By late October, that number can drop to 10 hours or fewer. A route that took 6 hours round-trip in July with plenty of margin can leave you finishing in the dark in November if you start at the same hour and hike at the same pace.
Water sources behave differently too. Streams that are trickles in August can be raging with snowmelt in April, and creek crossings that required no thought in summer can become the actual crux of a spring hike. Understanding that shoulder season changes the terrain, the light, and the water simultaneously, not just the air temperature, is the first planning adjustment.
Spring Specific Hazards: Mud, Snowmelt, and Runoff
Spring hazards cluster around water in motion. As snowpack melts, trails at mid-elevation, generally 3,000 to 7,000 feet in most temperate mountain ranges, turn into mud corridors that can stay soft for weeks after the visible snow is gone. Hiking through this mud does more than dirty your boots: repeated foot traffic on saturated trail widens the tread, damages vegetation on the margins, and accelerates long-term erosion.
Creek crossings are the more serious concern. Snowmelt-fed streams can rise several inches within a single afternoon as daytime temperatures climb, meaning a crossing that was ankle-deep at 8 a.m. can be knee-deep or worse by 2 p.m. Fast, cold water at even modest depth (below the knee) can knock a hiker off balance, and cold-water immersion accelerates hypothermia risk even in air temperatures that feel mild.
Practical adjustments for spring trips:
- Cross creeks earlier in the day, before afternoon melt peaks, rather than on the return leg.
- Unclip hip belts and sternum straps before any crossing deeper than mid-calf, so a pack can be shed quickly if you go down.
- Check trip reports from the last 48 to 72 hours specifically for snowline elevation, since a single weekend of warm weather can shift it by a thousand feet.
- Expect trekking poles to matter more than usual, both for mud stability and for probing crossing depth before committing.
Fall Specific Hazards: Early Dark and Sudden Cold
Fall's defining hazard is the mismatch between how the day feels and how much daylight is actually left. A clear, 65-degree afternoon at 3 p.m. in October can drop to near freezing by 6 p.m., especially at elevation or once the sun drops behind a ridge. Hikers who plan around the pleasant afternoon temperature, not the actual sunset time, are the ones who end up hiking the last mile by phone flashlight.
Early season snow is the second fall-specific risk, particularly at higher elevations where the first storm can arrive weeks before it's expected. A dusting that looks harmless can hide ice underneath on rock slabs and exposed sections, and temperatures at ridgelines can be 15 to 20 degrees colder than the trailhead reading.
Wildlife behavior also shifts in fall. In areas with black bears, animals are actively foraging heavily before winter (a period sometimes called hyperphagia), which can mean more encounters near berry patches or food sources close to trail corridors. This isn't a reason to panic, but it is a reason to store food properly, make noise on blind corners, and check current wildlife advisories for the specific trail, not just general regional guidance.
Checking Real-Time Trail Conditions Before You Go
Shoulder season is when checking conditions the night before, or even the morning of, actually matters, because conditions can change meaningfully within days. Static guidebook descriptions and even trip reports from the same month in a previous year are far less reliable than in summer.
Useful sources, in rough order of reliability:
- Land management agency alerts (national park, national forest, or state park websites) for official closures, washed-out bridges, or fire restrictions.
- Ranger stations or visitor center phone lines, which often have more current information than the website, especially for creek levels and snowline.
- Recent trip reports from hiking community platforms, filtered to the last 3 to 7 days, not the last month.
- Snow telemetry or river gauge data where available, useful for quantifying snowpack percentage or creek flow rather than relying on someone's subjective "it was muddy" note.
If two sources conflict, treat the more conservative one as correct and plan accordingly. Nobody has been criticized for turning around at a swollen creek that turned out to be passable; plenty of hikers have been rescued from ones that weren't.
Adjusting Gear for Wider Temperature Swings
Summer gear lists are built around one dominant condition: heat. Shoulder season gear lists have to cover two or three conditions in the same pack, because the morning, midday, and evening on the same trail can each demand something different.
| Category | Summer approach | Shoulder season approach |
|---|---|---|
| Layering | Single moisture-wicking layer | Base layer, insulating mid-layer, wind or rain shell, all carried regardless of forecast |
| Footwear | Breathable trail shoe | Waterproof boot or shoe, plus gaiters for mud and snow |
| Light source | Optional, often skipped | Headlamp with spare batteries, non-negotiable even for short day hikes |
| Hydration | Focus on volume, hydration bladders common | Insulated bottles preferred; bladder hoses can freeze in cold mornings |
| Emergency gear | Light first aid kit | Add emergency bivy or space blanket; temperature drop risk is higher if delayed |
The single most common gear mistake in shoulder season is treating the forecast high temperature as the relevant number. The relevant number is the low, plus wind chill at elevation, plus what happens if you're moving slower than planned and still outside at sunset.
Timing Your Start and Turnaround Differently
In summer, an early start is mostly about beating heat. In shoulder season, it's about maximizing usable daylight and, in spring, crossing water before afternoon melt. That changes the math on when to leave the trailhead.
A practical turnaround rule that works well in fall: calculate your estimated one-way hiking time, then subtract it from sunset, then subtract another 30 to 45 minutes as a buffer for the terrain to get harder or your pace to slow. If sunset is at 6:40 p.m. and your route out takes an estimated 3 hours, your hard turnaround time is roughly 2:55 p.m., not 3:30 or later. Missing that window by even 20 minutes on a technical descent can mean finishing in twilight, which is more disorienting on unfamiliar terrain than full darkness with a good headlamp.
In spring, the priority flips: start early enough to hit any creek crossings before 11 a.m. or noon, when snowmelt runoff typically peaks. This can mean a 6 a.m. trailhead departure even for a moderate day hike, which is earlier than most people plan for outside of summer sunrise-chasing trips.
Trip Types That Work Best in Shoulder Season
Not every route benefits equally from spring or fall conditions. Lower-elevation trails, generally below 4,000 feet depending on the range, tend to clear of snow earlier in spring and hold fall color and mild temperatures longer, making them the most reliable shoulder season choice.
South-facing slopes lose snow faster than north-facing ones due to direct sun exposure, so a route with a mostly south-facing aspect can be hikeable weeks before its north-facing neighbor. Checking aspect on a topo map or trail description is a quick way to identify which nearby trails are likely already clear.
Shorter loop hikes and out-and-backs under 8 miles are generally a better fit than long thru-hikes or high-elevation traverses during these windows, simply because they leave more margin if conditions turn out worse than expected. Trips built around wildlife viewing (elk rut in fall, migratory bird activity in spring) or fall foliage are genuinely better in shoulder season than in summer, since both the animal behavior and the color change are seasonal events, not just tolerable side effects of cooler weather.
Common Mistakes
The recurring errors are predictable: using last month's trip report as current information, planning a start time based on summer daylight habits, skipping a headlamp on a "short" fall hike, crossing a snowmelt creek in the afternoon instead of the morning, and packing for the forecast high instead of the realistic low. Each of these is a planning failure, not a bad-luck outcome, and each is avoidable with a five-minute check before leaving the house.
Next Steps
Before your next spring or fall trip, check the land manager's current conditions page and cross-reference it with a trip report from the last week, not the last month. Build your gear list around the day's low temperature and worst-case weather, not the forecast high. Calculate a hard turnaround time based on actual sunset, and if the route includes a creek crossing, plan your schedule around crossing it in the morning. If conditions, water levels, or your own comfort with the terrain seem uncertain once you're on trail, treat that uncertainty as a valid reason to turn back, and if you're unsure whether a route is appropriate for current snow or runoff levels, a call to the local ranger station is worth more than any guidebook.